The following is a potential plan for the deployment of the Access Control System.
Introduction
Scope
The scope of work for this initiative is to support the [[Security System Brief]]. Essentially:
- Design an Access Control solution for the level 7, 25 Victoria Street location
- Provide a plan for others to follow around the physical cabling and install of hardware at the location
- Provide assistance to Project Managers onsite for the delivery of services
- Implement the technical as-built design and deployment of policies on the Access Controller
- Deploy configuration to the Access Controller when installed by others
- Train SE staff on the use of the system
- Document a process for adding new users and visitors including card management
- Handover the design and build to SE internal teams.
Approach
- Install external security first - secure the perimeter
- Install new cabling if existing cabling is not to code / standard
- Phased approach to achieve milestones:
- Determine scope
- Procure equipment / suppliers
- Secure external perimeter
- Install cameras
- Install additional doors and services
- Decommission old equipment
- Document, test and handover
Principles
- Reuse existing cabling for keypads and latches / door position sensors if these meet the required standard.
- Use existing cabling for access points or cameras if these meet standards.
Assignment Model
We will use the RASI model to determine the assignment of actions and tasks.
RASI Model
We will use the shorted RASCI model called RASI, which stands for:
R - Responsible
A - Accountable
S - Supportive
I - Informed
Stakeholders
The follow are the list of the key stakeholders:
| Name | Initials | Role |
|---|---|---|
| William Tonkin | WT | Primary Stakeholder |
| David Hinkley | DH | Project Owner |
| Electrical Contractor | EC | Contractor |
| Tim Jackson | TJ | Contractor / Adviser |
| James Winskill | JW | Project Advisor |
| Chris McKenzie | CM | Operational Consultant |
Design
Hardware Components
The access service comprises of a number of physical components:
| Component | Description | Details |
|---|---|---|
 | ||
 | ||
 | ||
 | ||
 | ||
 | ||
 | ||
 | ||
 |
Plan
Activities
The following list is a set of activities required to undertake the scope of the project.
General Accountabilities:
As a rule of thumb:
- Cabling and building fit out: Electrical Contractor
- Power termination and cable management: Electrical Contractor
- Cabling between previous access system and new system: Electrical Contractor
- Termination and mounting of new Access Control hardware: Electrical Contractor / Builder
- Cable testing and procurement of cabling: Electrical Contractor
- Certification and Sign off of network / power: Electrical Contractor
- Decommissioning of legacy hardware: Electrical Contractor
- Configuration / Testing: Tim Jackson / Chris M
| Task | Description | Effort | R | A | S | I | |
|---|---|---|---|---|---|---|---|
| Scope | |||||||
| Audit | Audit the current environment and document the cabling and electrical connections | TJ / EC | CM | DH | |||
| Scope | Determine the project scope for the elements that are needed. | TJ / EC | DH | WT | |||
| Sign off Scope | Sign off on the scope of works and approve the spend in terms of a budget. | WT | DH | TJ / EC | |||
| Quote | Determine the new cabling and environment post the audit | EC | TJ | ||||
| Approve Quote | Approve the quotation | WT | DH | TJ / EC | |||
| Procurement | Procure the required equipment and cabling to undertake the project | TJ / EC | DH | ||||
| Access Control | |||||||
| Install Access Control Hub | Install the access controller on wall in secure comms area. Install power and conduit for access cabling and UTP for keypads. | EC | |||||
| Cable Keypads | Install Cat6a cable into walls near to the positions for on wall access readers. Reuse existing cabling if possible, or use as a draw wire for newer Cat6a if required. | EC | |||||
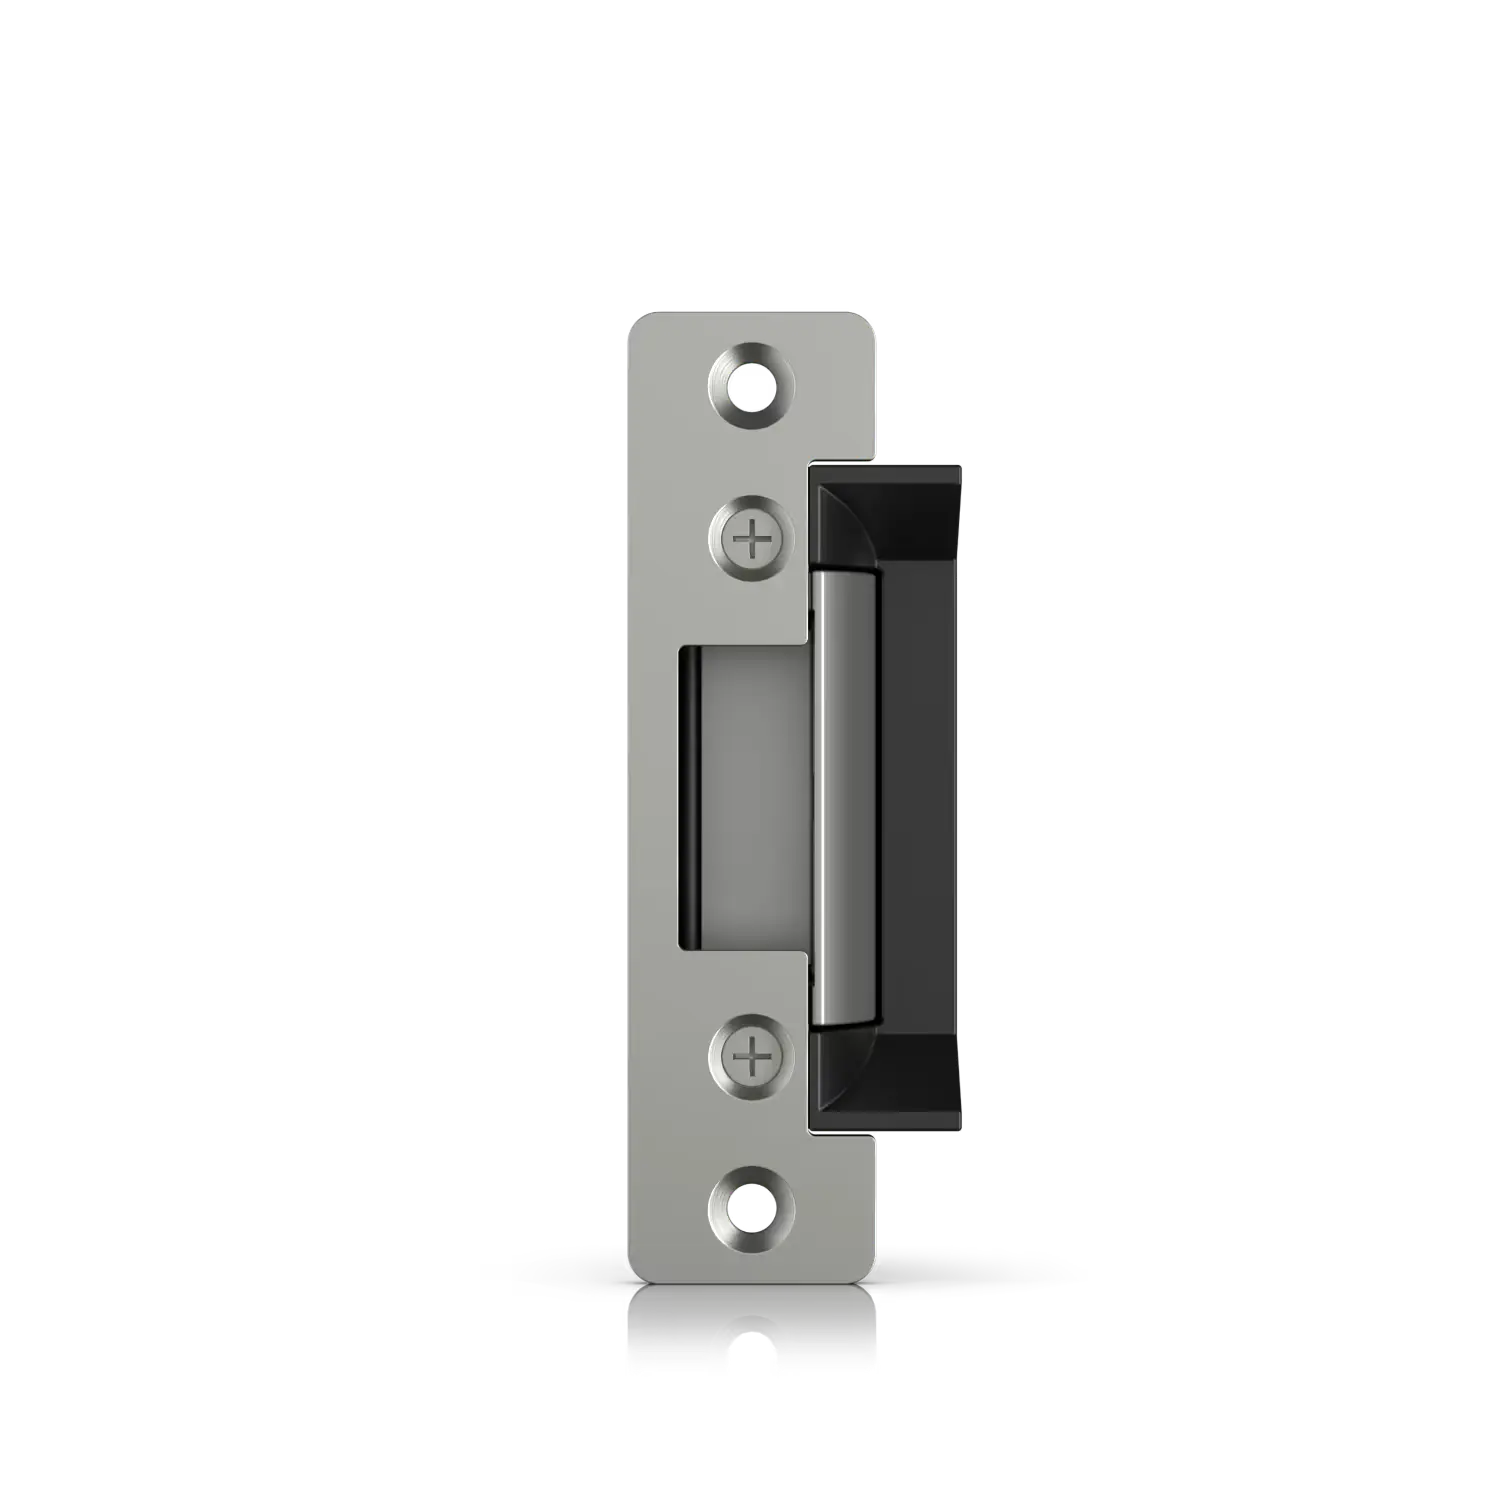
| Install G2 Readers in External Doors | Mount the new G2 panels on the wall and connect to cabling via RJ45. | EC | |||||
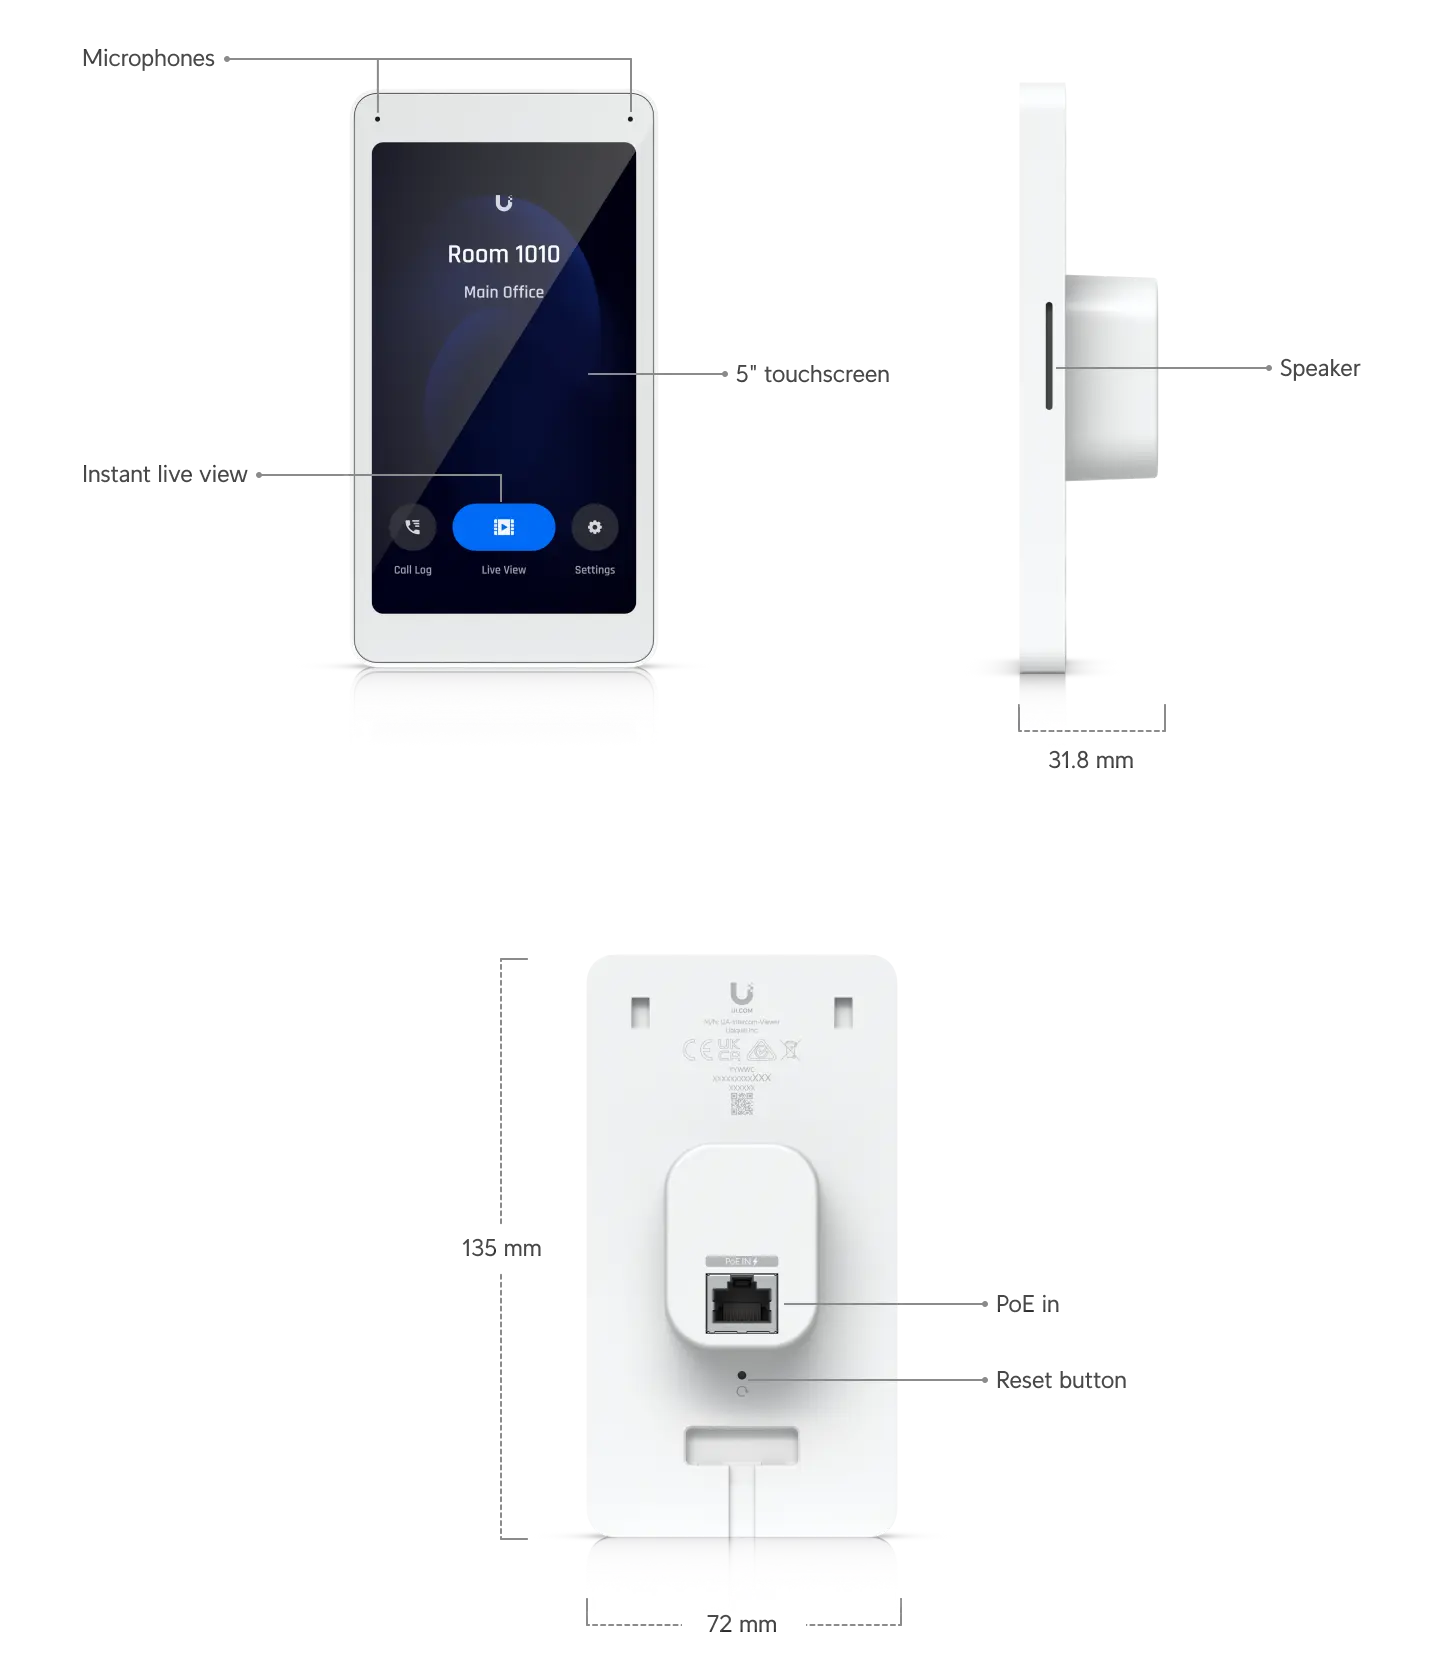
| Install Cabling for Intercom Panels | Intercom panels will be positioned by the entrance doors to view visitors and allow entry from within the office. | EC | |||||
| Install Intercom Panels | Connect and securely mount the panels on the wall and connect to cabling. | EC | |||||
| Unifi UDM Install | |||||||
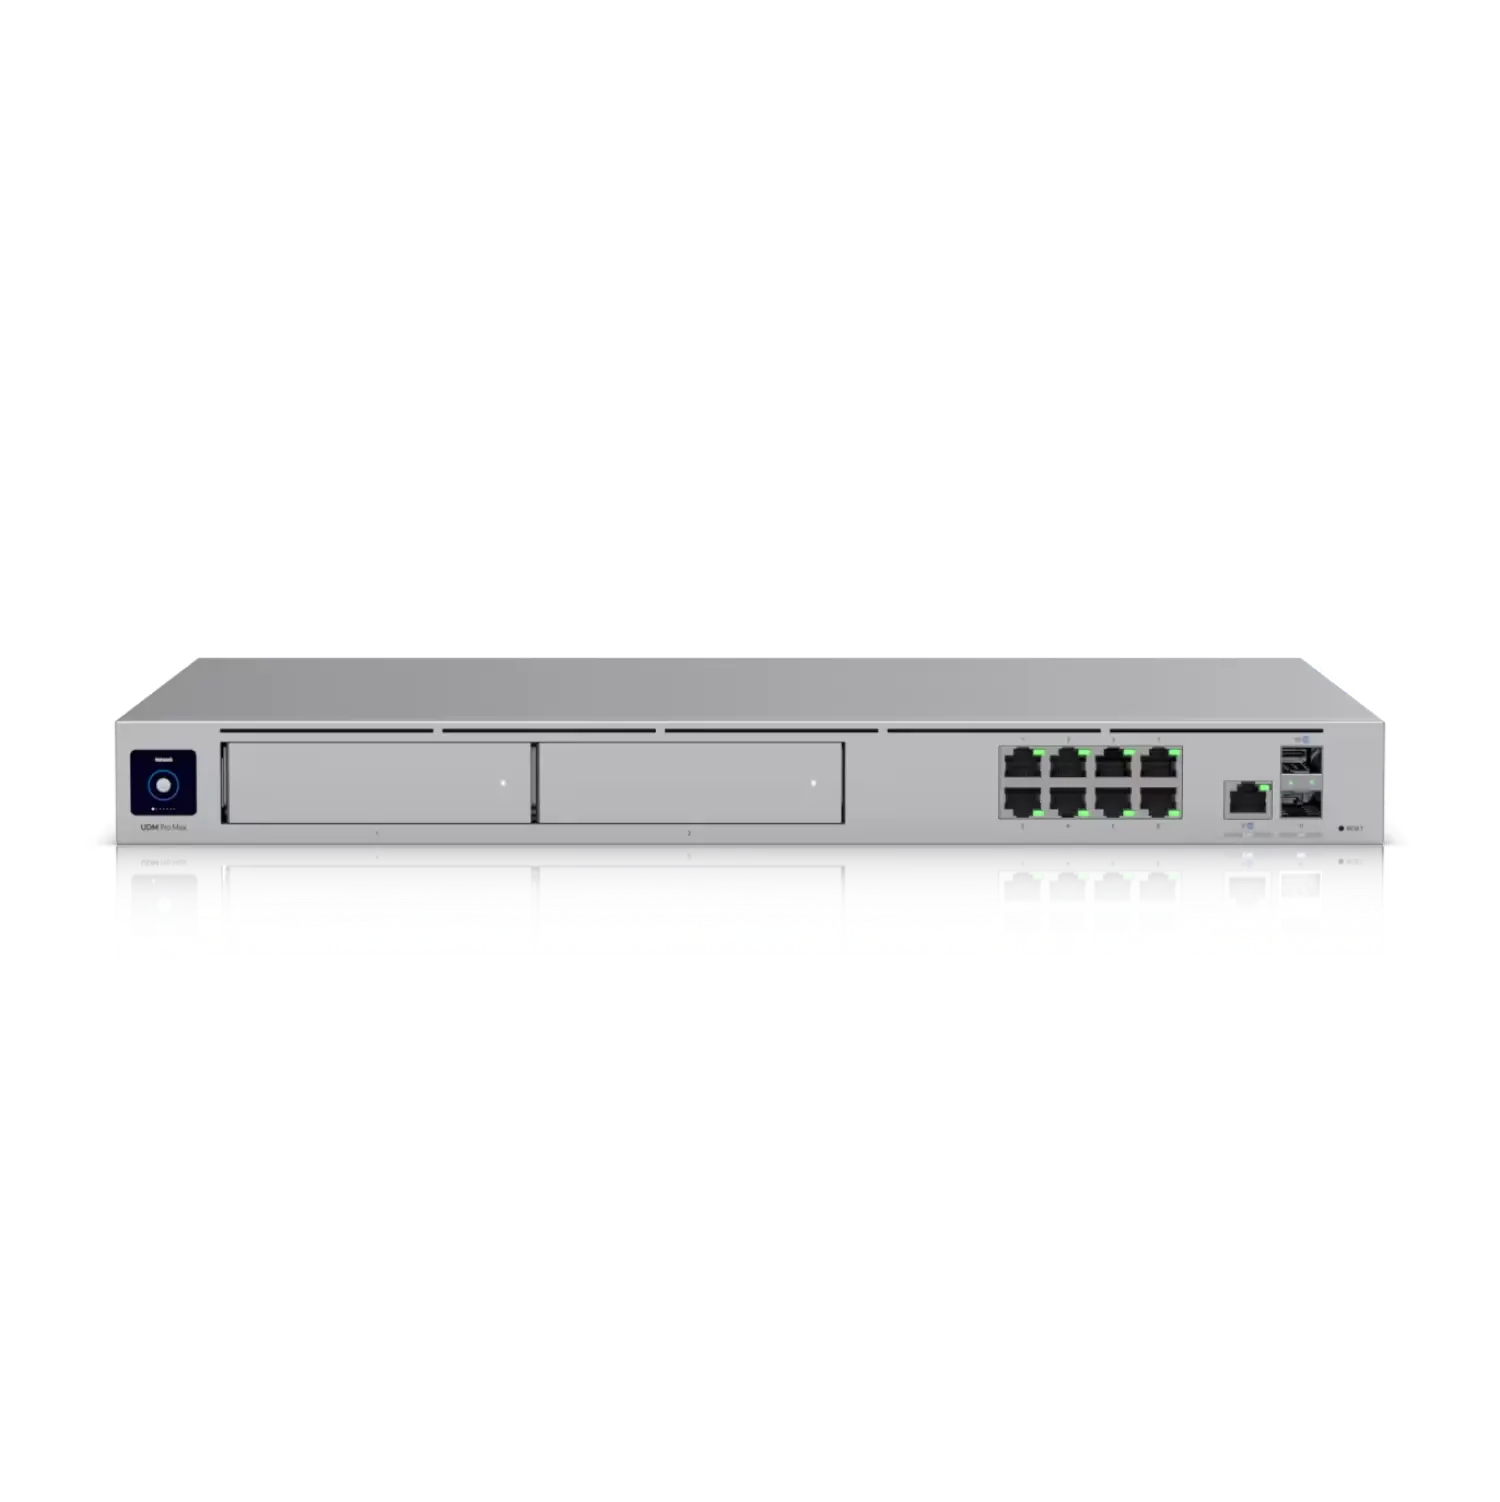
| Install Controller | Install the UDM Pro in network rack - connect to power and network. | CM | TJ | ||||
| Commission Controller on network | Provision the controller with static IP address and register against SE domain. | CM | TJ | ||||
| Install NVR RAID | Install NVR disks into chassis and provision as RAID0. | TJ | CM | ||||
| Provision Applications | Install Network, Protect and Access onto UDM. | TJ | CM | ||||
| Adopt Keypads | In the UDM Protect - adopt the keypads and provision the configuration to these. | TJ | CM | ||||
| Commission Access | Allocate door latching, door position and keypad to each of the entranceways. | TJ | CM | ||||
| Decommission Legacy System | |||||||
| Remove existing door strike cables from old system | Physically remove these from the old system, relocate these to the appropriate section in the new Access Hub | EC | TJ | ||||
| Remove existing Door Position Sensors from old system | Physically remove these from the old system, relocate these to the appropriate section in the new Access Hub | EC | TJ | ||||
| Power off existing system | Power off once all connections have been disconnected. Notify PM. | EC | TJ | ||||
| Test External Access | With the door latches and door position sensors physically connected to each section of the Access Hub, testing can occur. | EC | TJ | ||||
| Commission Internal Doors | |||||||
| Cable Keypads | Route required Cat6a cable between keypad area and the Access Hub. Terminate with RJ45 at each end. | EC | TJ | ||||
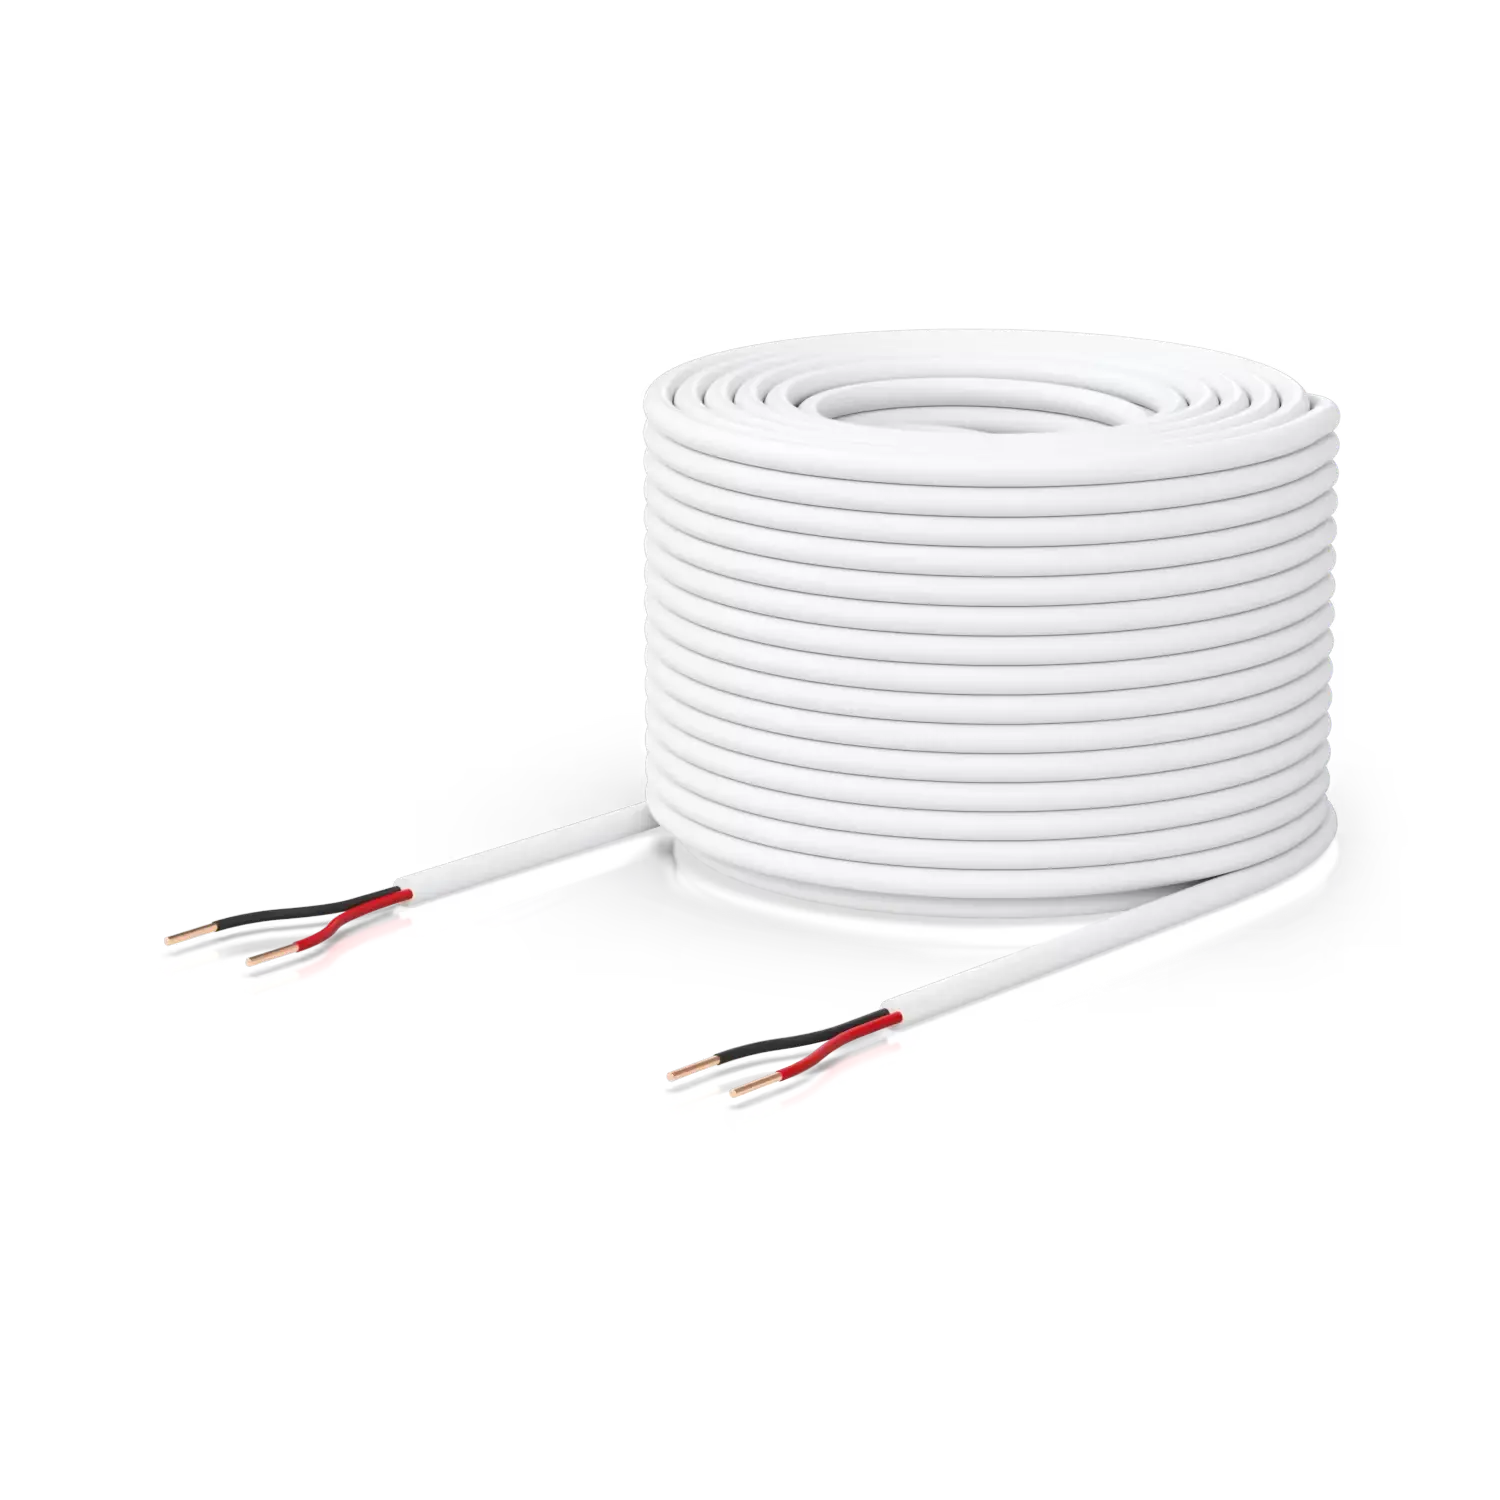
| Cable Latches | Using the appropriate AUG 18-22 cable - route from cable latch location to Access Hub. | EC | TJ | ||||
| Install Latches | Install physical hardware into door frame and connect to cable. | EC | TJ | ||||
| Install Door Position Sensors | Drill new position sensors into frame and door. Connect to cabling. | EC | TJ | ||||
| Install Keypads | Install the G2 door keypads onto the cables via the RJ45 and securely mount on the wall. | EC | TJ | ||||
| Connect to Access | Connect the required door latch, door position sensors and keypads to the Access Hub | EC | TJ | ||||
| Adopt Doors | In the Access Application on the UDM - create new doors and assign Access Hub section to doors | TJ | CM | ||||
| Test | Validate the operation of the door against test plan. | EC / CM /TJ | DH | ||||
| Cameras | |||||||
| Install Cabling for Cameras | Provision Cat6a cabling between camera locations and terminate with RJ45 plugs at each end. Plug into camera and the other end into the UDM for PoE. Connect ports 1-4 for this. | EC | |||||
| Install Cameras in Ceiling | Install the camera, and ensure it is aligned correctly to monitor the area correctly. | EC | TJ / CM | ||||
| Install Camera in Protect | Adopt the camera in Protect and label correctly with the location and settings | TJ | CM | ||||
| Identity | |||||||
| Install Identity | Install the Identity application on the UDM. | TJ | CM | ||||
| Create Entra Application | In Entra, create the SAML application to secure connections between the UDM and Entra directory services. | CM | TJ | ||||
| Bind Entra Identity to UDM Identity | Using the Client ID and Secret provision the link. | CM | TJ | ||||
| Create Entra groups for Physical Location | Create new Entra groups for the physical access as per the design. | CM | TJ | ||||
| Assign Users to Groups | Assign the appropriate users to these groups so they inherit the physical access. | CM | TJ | ||||
| Bind Groups to Unifi Identity and Sync Users | In the UDM, assign the groups to the RBAC controls on the platform. | CM | TJ | ||||
| Create Admin Users | Ensure local admin accounts are available. | CM | TJ | ||||
| Create RBAC Groups / Assign | Ensure all RBAC groups are assigned to local access permissions. | TJ | CM | ||||
| Assign Contractor Cards | Create and assign contractors with cards to enable access to the service during construction. | CM | TJ | ||||
| Test Card / Visitor allocation | Test the process of creating a visitor, and allocating a secure access pass. | CM | TJ | DH | |||
| Document Process | Document the process of allocating visitors to cards. Handover to internal teams. | TJ | CM | DH | |||
| Policies | |||||||
| Create Access Policies | Referencing the decisions captured in the design - create the required policies for access users. | TJ | CM | ||||
| Create Schedules | Create schedules captured in the design. | TJ | CM | ||||
| Create Camera Recording | Create the recording policies and quality. | TJ | CM | ||||
| Create Recording Archive Policies | Create the archive policies as required for any regulation or business policy. | TJ | CM | ||||
| Assurance | |||||||
| Enable Logging | Enabled logging to Syslog server. NOTE: Syslog server configuration is not inscope. | TJ | CM | ||||
| Enable Notifications | Enable webhooks and notifications actions based on the design. | TJ | CM | ||||
| Test | Test logging and notifications. | CM | TJ | ||||
| Handover | |||||||
| Provide documents and test reports | TJ | DH | WT |